In this guide
Four ways to get a bike off the garage floor
Every way of storing a bike puts its weight on a different part of the house. An overhead hoist hangs from the ceiling joists. A tension rack presses between the slab and the ceiling and holds itself up by squeeze. A wall hook loads a single stud, and a floor stand asks nothing of the building at all. Pick the part of the house that can take the job, and the product follows.
Three questions settle most garages. How high is the ceiling, measured from the slab to the underside of the drywall? How often do you ride? What sits above that ceiling, a bedroom, an attic full of boxes, or open rafters? A bike you ride every morning wants to live at hand height. A road bike that sees the road only in summer can spend the winter eight feet up, where nobody trips over it.
| Option | Rated load | Ceiling range | Space it takes | Drilling |
|---|---|---|---|---|
| Bike Hoist (overhead pulleys) | 100 lb | Up to 12 ft | Nothing on the floor | Joist or a 2x4 screwed to joists |
| Rail-Mount Bike and Ladder Lift | 75 lb | Up to 12 ft | Nothing on the floor | Rail screws straight into joists |
| Floor-to-Ceiling Bike Rack | 2 bikes, 200 lb total | 7 to 11 ft | 14.5 x 9.5 in post | None, held by tension |
| Flip-Up Bike Wall Hook | 50 lb | Any | 11.5 x 13.25 x 4 in on the wall | One wall stud |
| Two-Bike Floor Stand | 2 bikes, tires to 2.4 in wide | Any | 22.85 x 21.25 in | None |
| Gravity Bike Stand | 2 bikes, 125 lb | Any | 79 x 26 x 19 in | One 4 in anchor screw into a stud |
Drilling narrows the field fastest. If drilling into the ceiling is off the table, as it is in many rented garages, the tension rack and the floor stands are what remain. If the ceiling runs higher than 11 ft, the tension rack drops out, because it extends from 84 to 132 inches and no further. Above 12 ft, the hoists drop out too, since their rope is sized for ceilings up to that height.
Weight matters less than people expect, but check it anyway. Stand on a bathroom scale holding the bike, then without it, and subtract. An e-bike or a loaded touring bike can surprise you, and the 50 lb wall hook and the 75 lb rail lift have less margin than the 100 lb hoist.
The whole shelf of bike storage and repair gear falls into those four families. Of the four, the hoist is the one where your own install work decides how well it performs, so the ceiling gets the most attention here.
How the overhead hoists differ
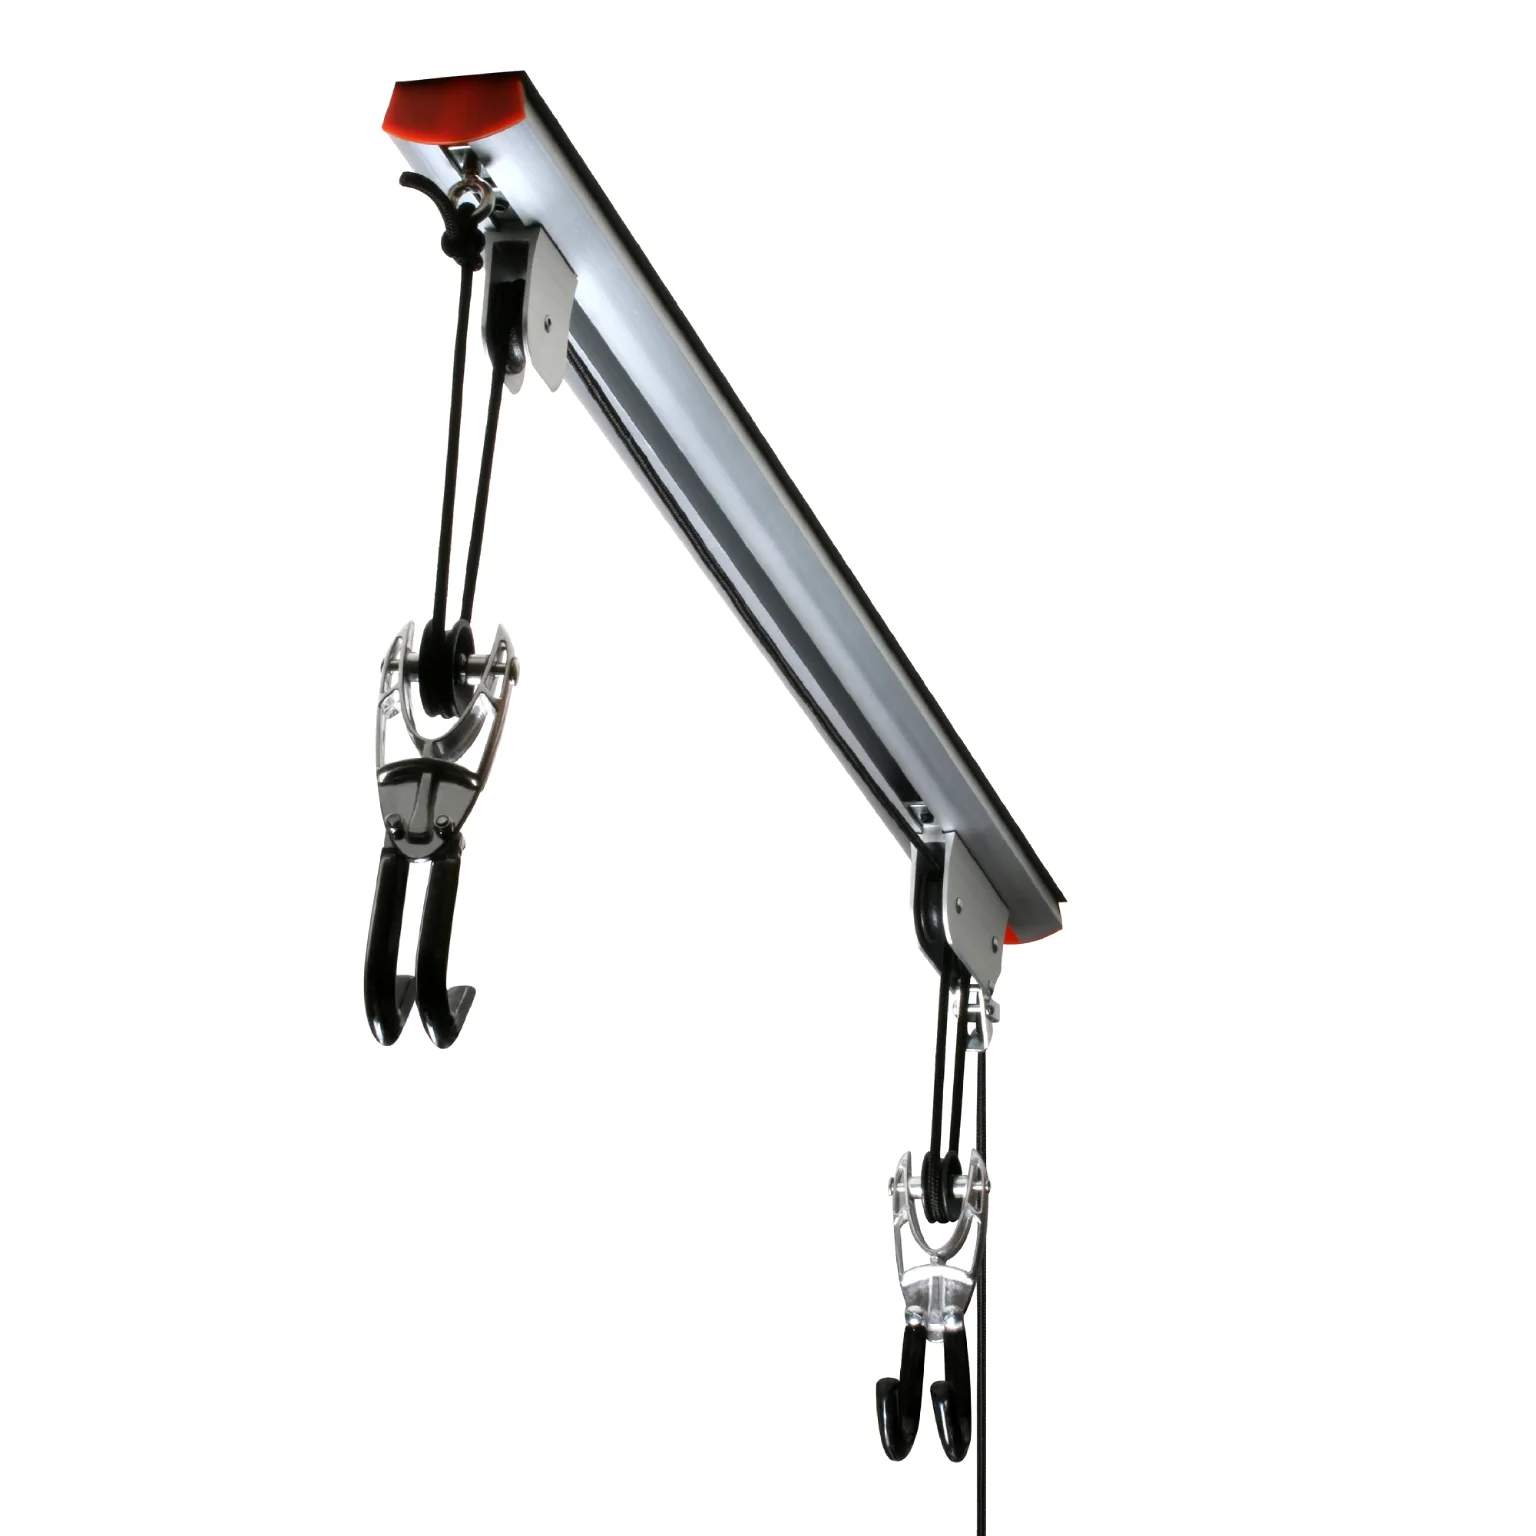
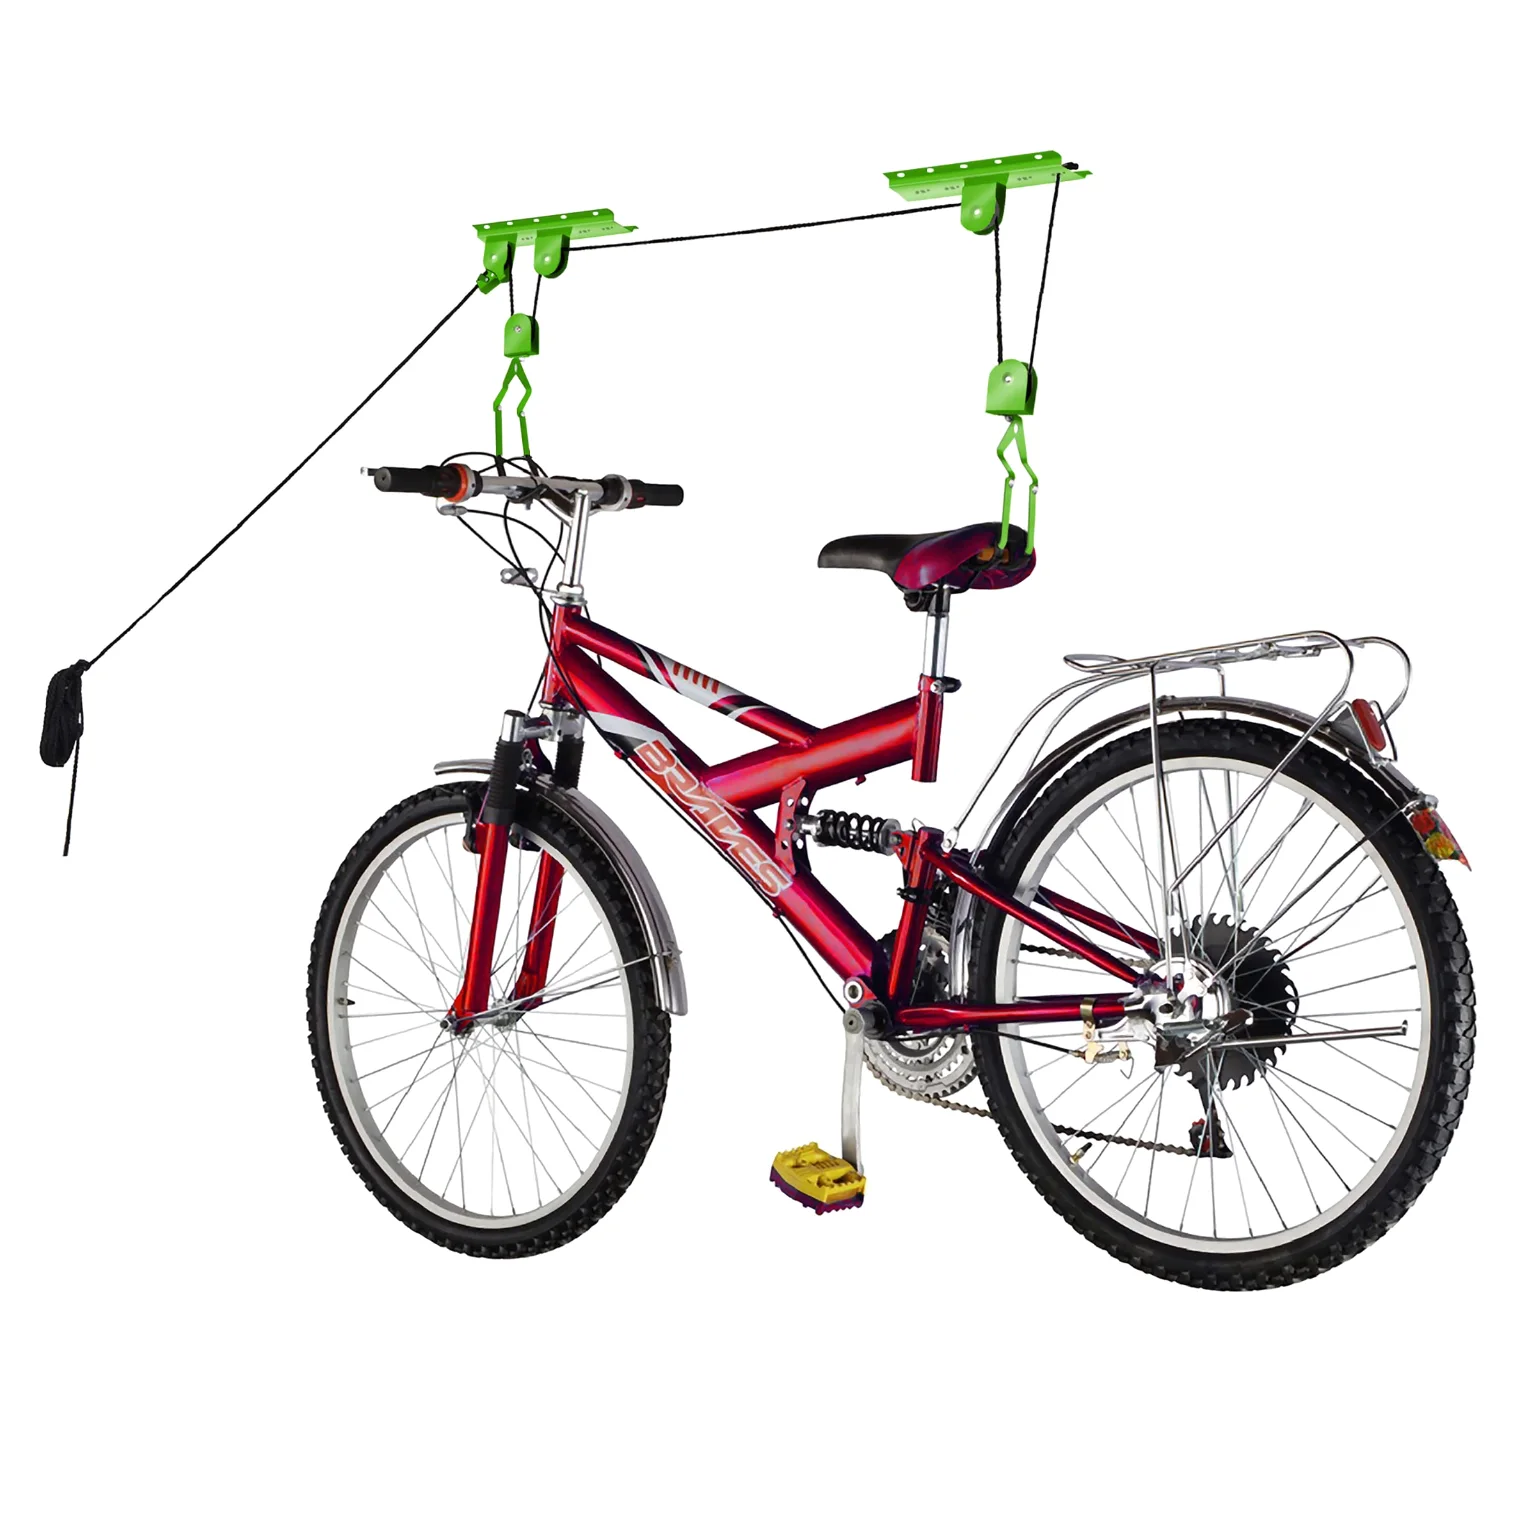
The RAD Sportz Bike Hoist is the classic garage pulley. Two brackets go up on the ceiling, a rope runs through both, and two rubber-coated hooks hang from it. Pull the rope, and the hooks rise together with the bike between them. It is rated for 100 lb and comes with rope for ceilings up to 12 ft. A locking mechanism on the pulley grips the rope as you pull, so the load stays where you stop it. Its product dimensions are given as 6 by 12 by 9 inches, and the 9 inch height matters later when you work out the drop.
Mounting decides how well it works. The product description gives two routes: screw the hoist straight into a ceiling joist or rafter, or screw it to a 2x4 and screw the 2x4 to the joists. The board route frees you from the joist layout, because you can put the pulleys anywhere along the board. It comes in packs of one, two or four hoists, so a household with several bikes can hang a row of them across the same run of joists.
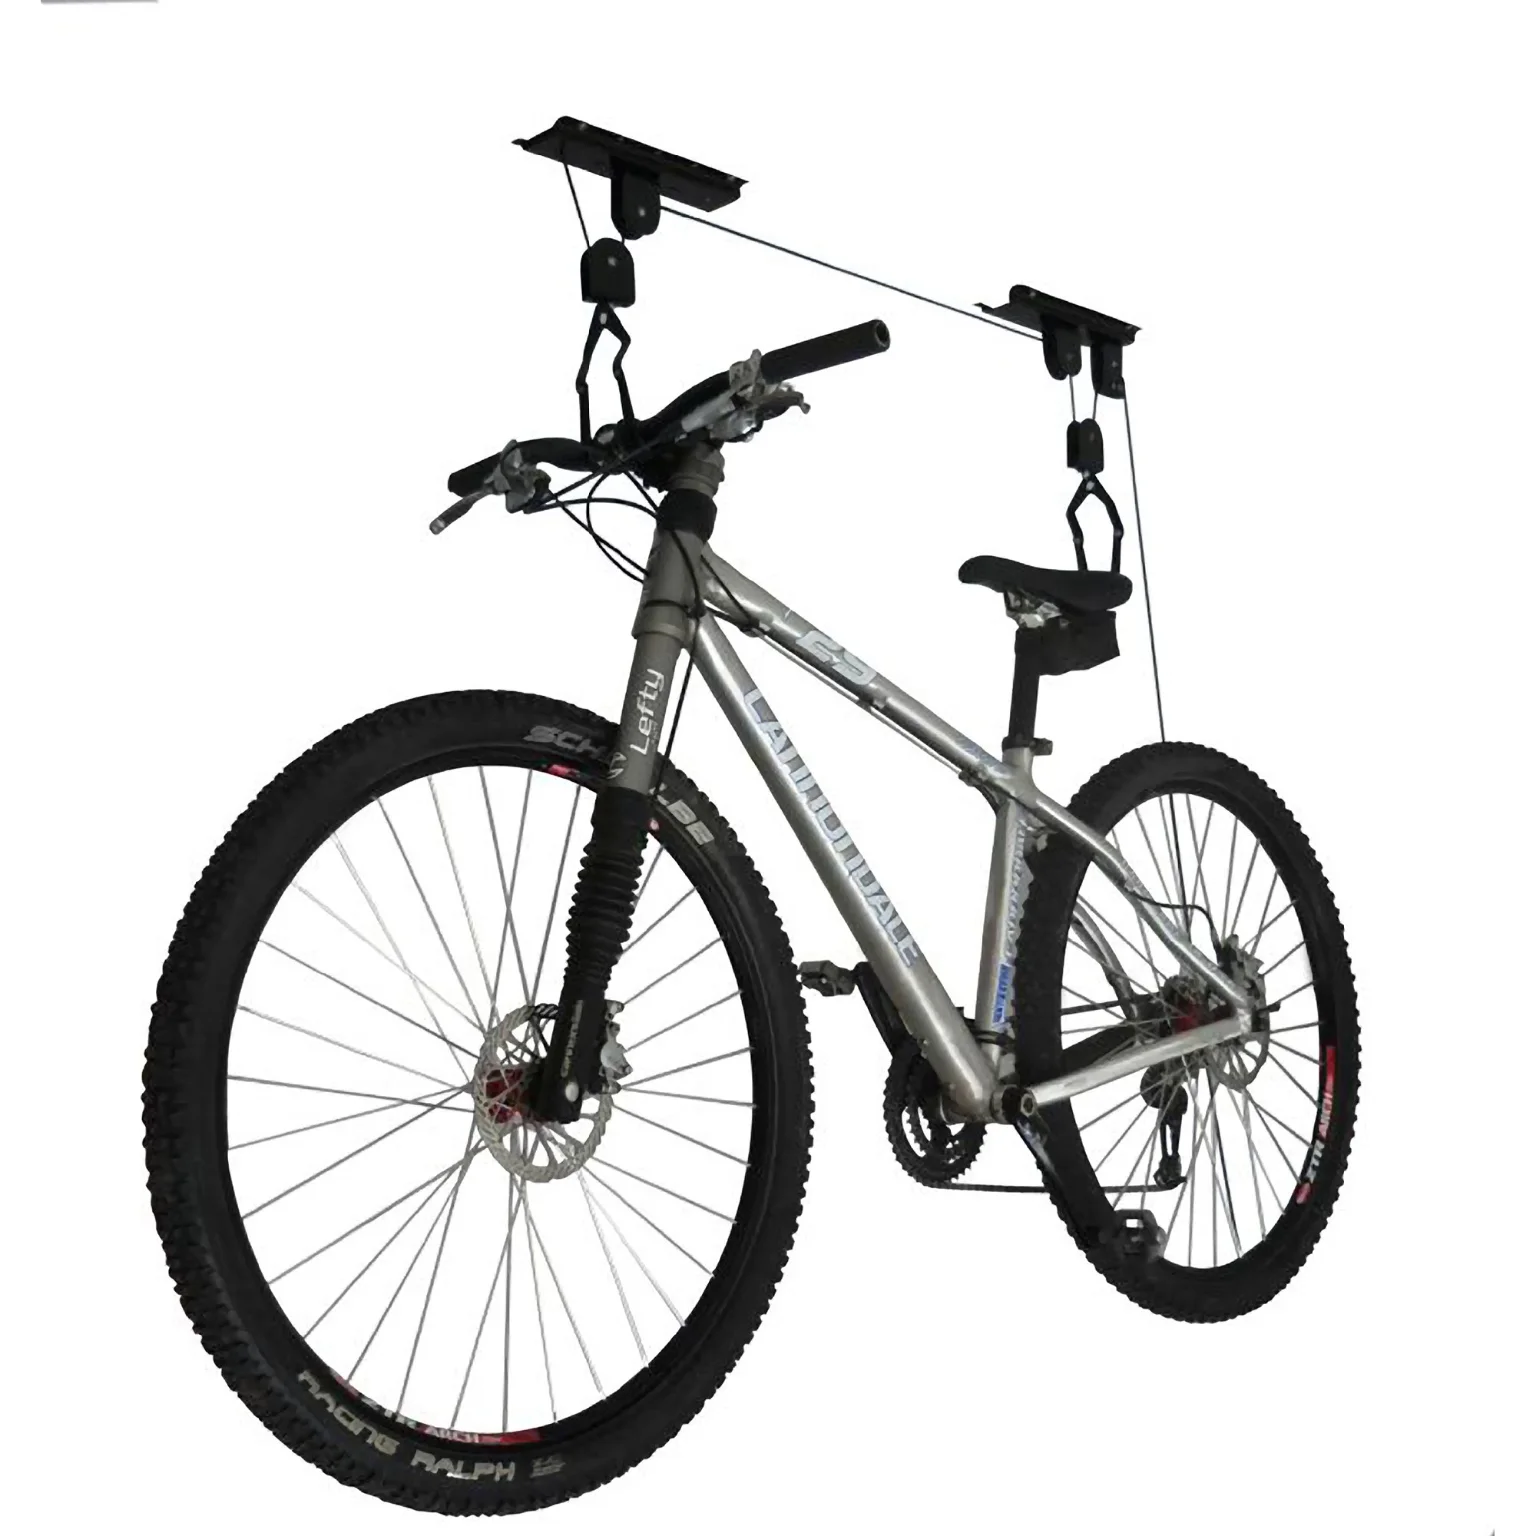
Ceiling hoist
The original RAD pulley lift for bikes and ladders.
From $27.21Price range: $27.21 through $48.64 
The Rail-Mount Bike and Ladder Lift solves the same problem with a single aluminum rail instead of two separate brackets. The rail screws directly into a joist, or across several, with no mounting board needed. That is its whole point. You get one part to align instead of two, and the spacing of the lifting points lives on the rail itself. The trade is capacity: 75 lb against 100 lb. It also works for ceilings up to 12 ft and uses a cam lock and rubber-coated hooks. The unit measures 8 x 8 x 30 inches.
For a garage that already holds a boat, the Kayak and Bike Hoist Set pairs one kayak pulley rated to 125 lb with one bike or ladder hoist. Both go up on ceilings up to 12 ft, and the kit says they can be mounted parallel or perpendicular to the joists. The rope brake pinches the rope with every pull, so one person can raise the load alone. Hanging a kayak brings its own questions about strap spacing and hull support, covered in how to store a kayak in a garage.
Which hoist suits you comes down to two things. A heavier bike points to the 100 lb hoist. A ceiling where you would rather drive four screws into one joist than fit a board points to the rail. If a ladder is going up beside the bike, either works, since both are sold as ladder lifts too.
When the ceiling rules out a hoist
Some ceilings should not carry a hoist. Rented garages, finished ceilings over a bedroom and anything you cannot see behind fall in that group. Bikes ridden daily also suit a hoist poorly, because cranking a rope twice a day gets old fast. Three other families cover those cases.
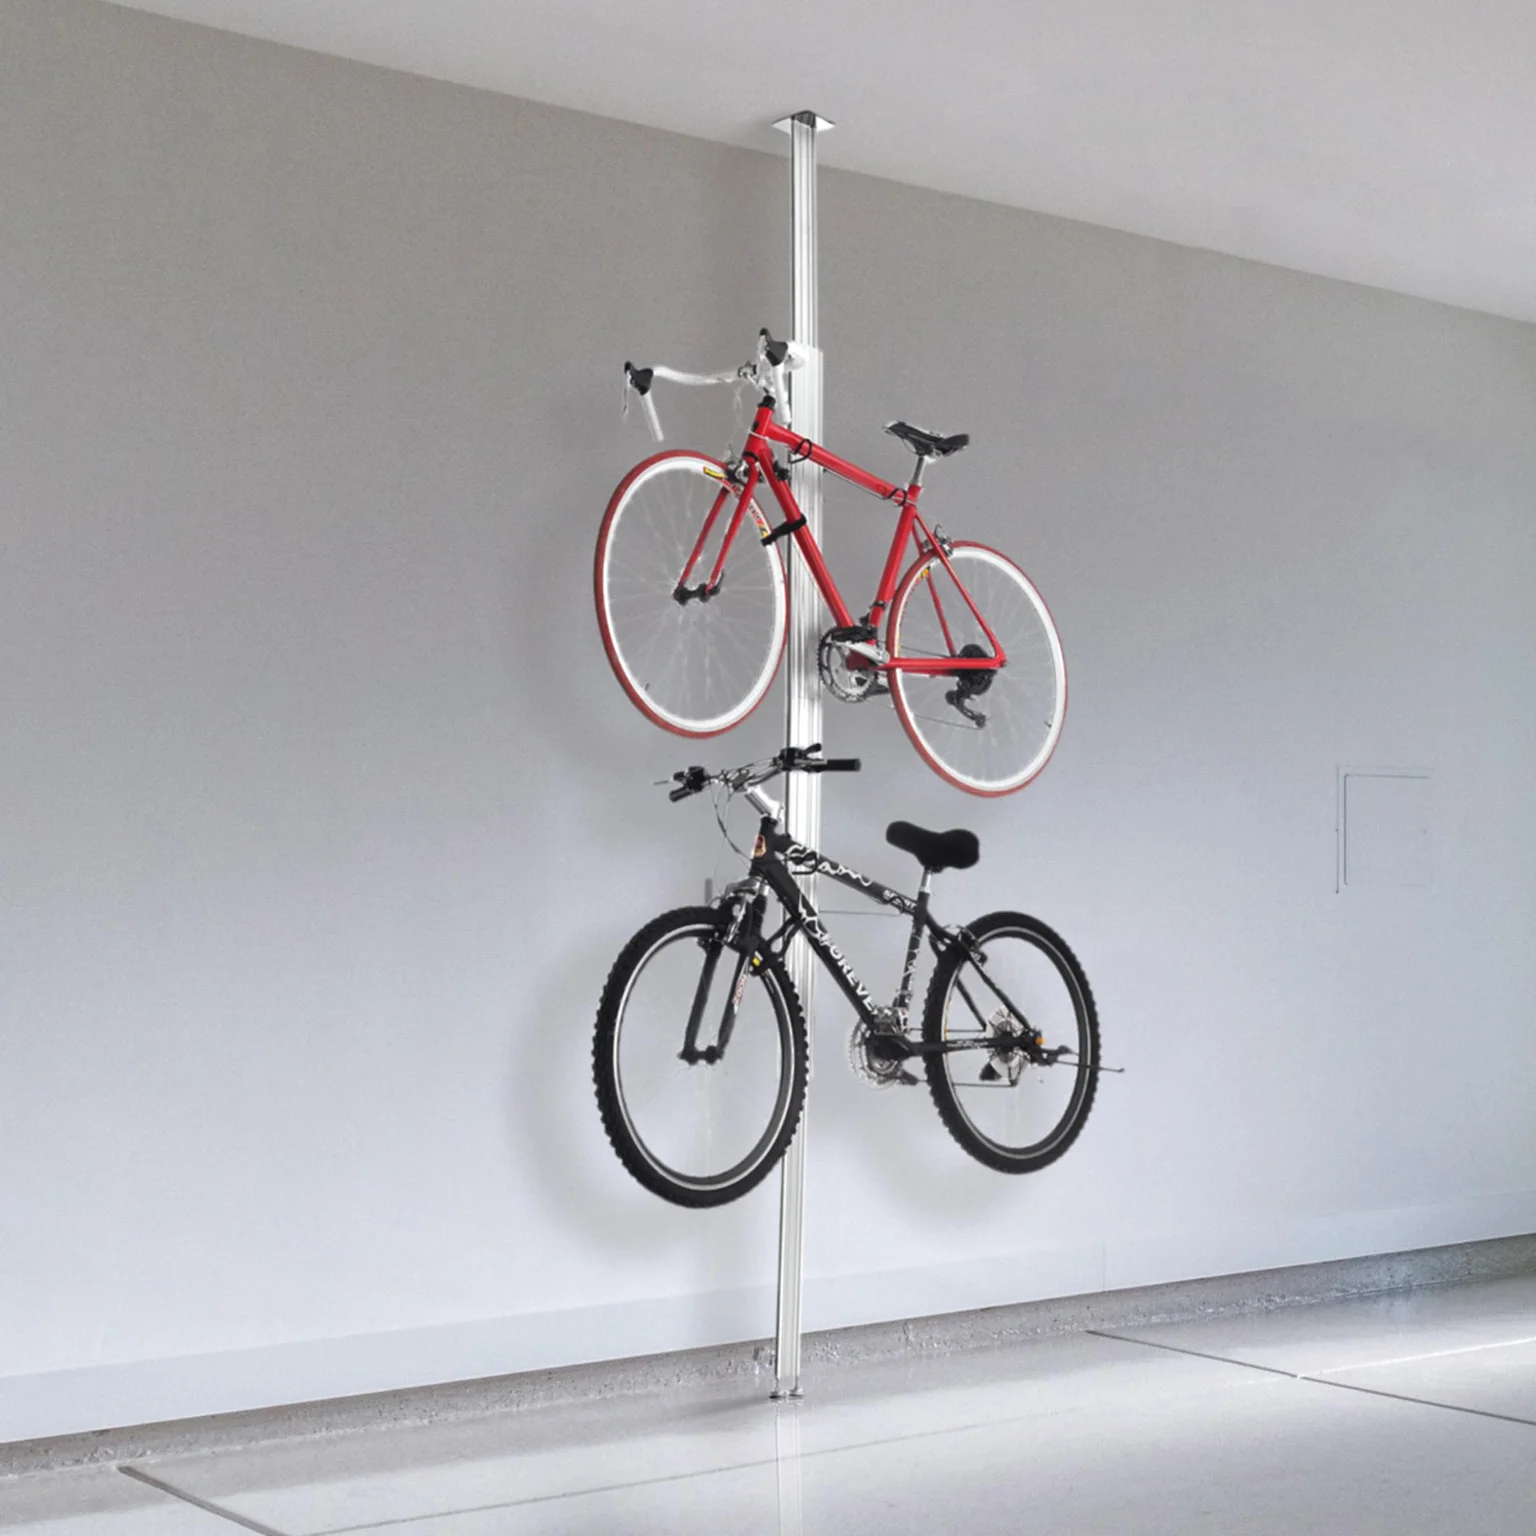
The Floor-to-Ceiling Bike Rack is a pole that extends from 84 to 132 inches, which fits ceilings from 7 to 11 ft. You set it up without drilling a single hole: adjustable feet sit on the floor, an extension slider takes up the slack, and foam pads on the top plate meet the ceiling. Four vinyl-coated steel hooks hold two bikes up to 200 lb in total. Two hook and loop straps keep the front wheels from swinging. The post itself covers about 14.5 by 9.5 inches of floor, and it comes in aluminum or wood.
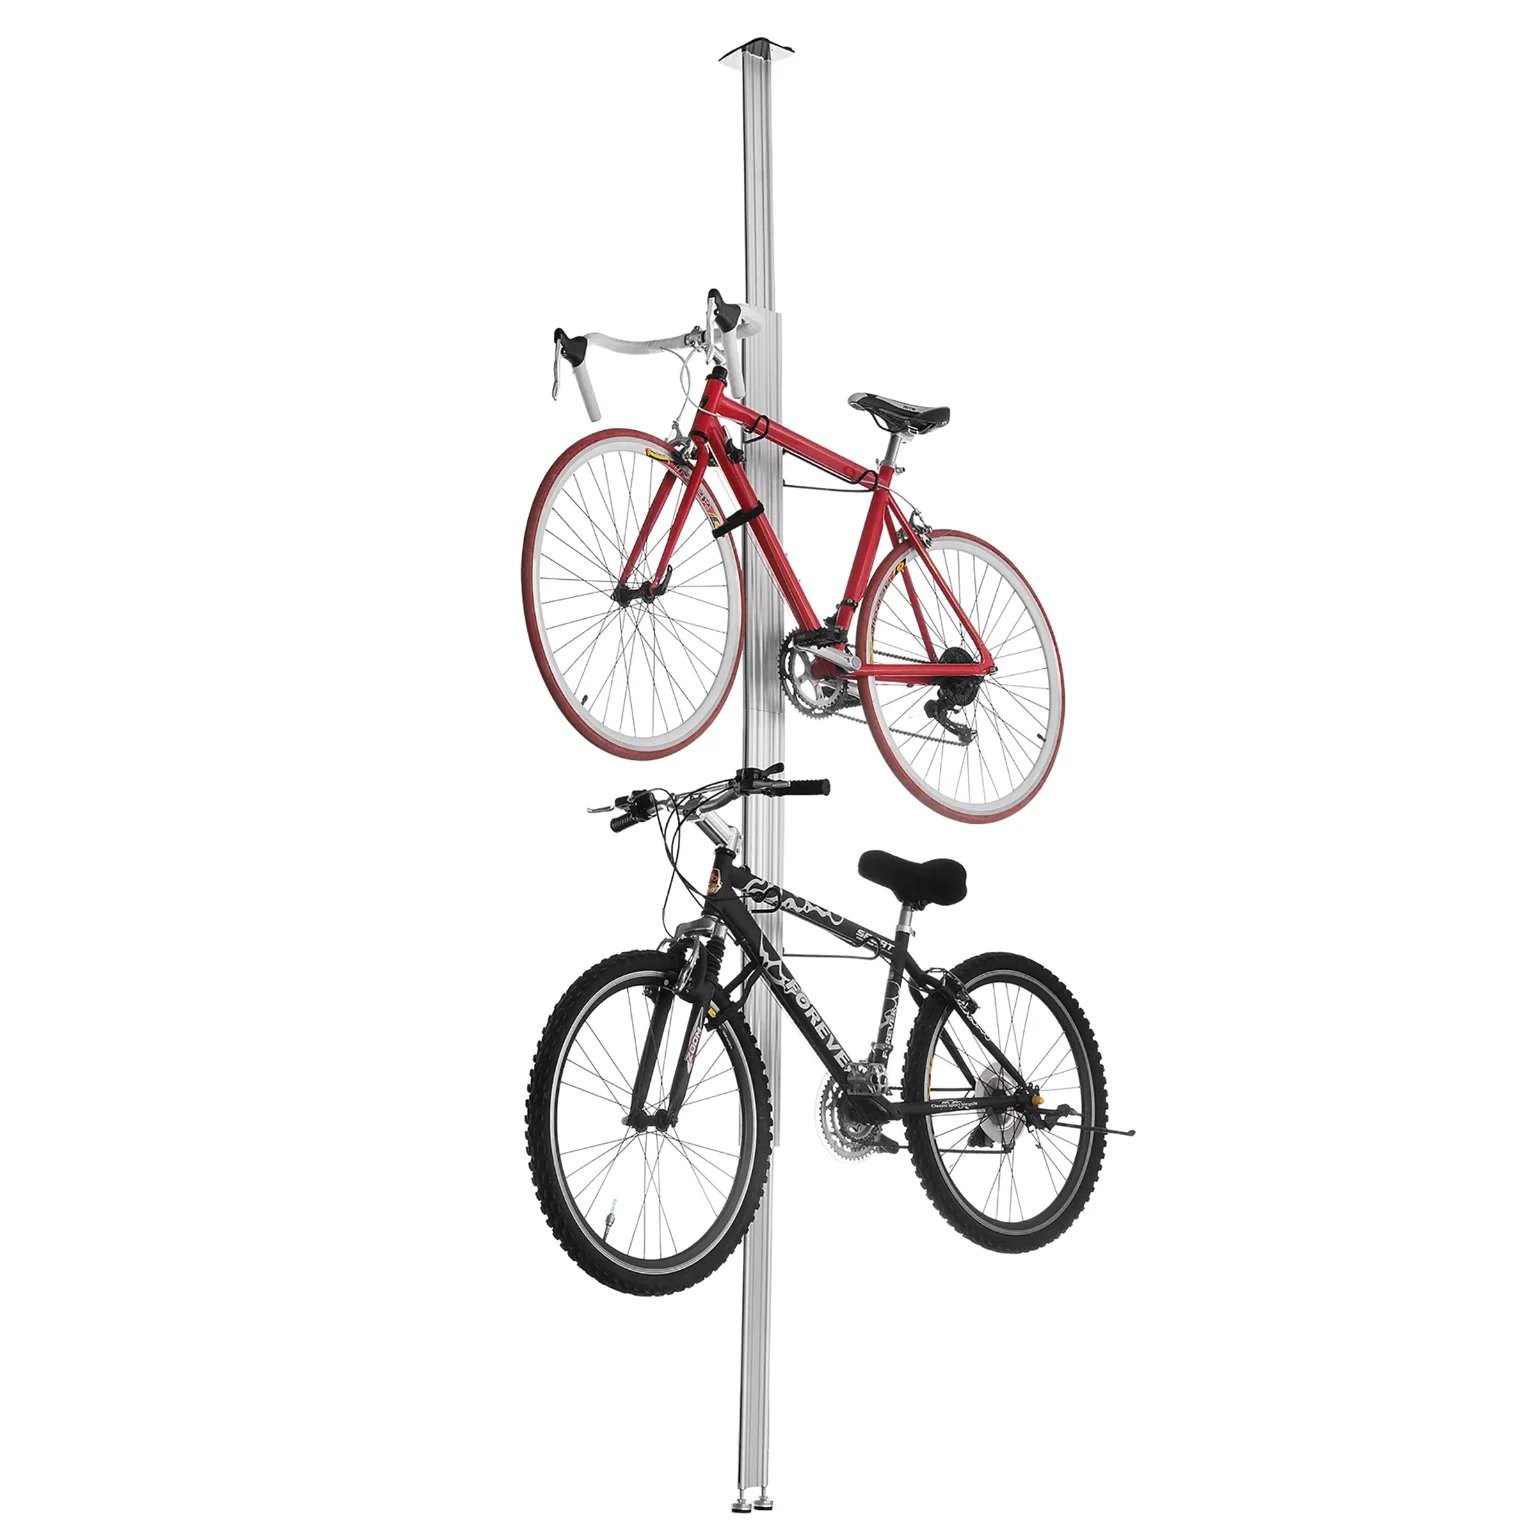
Pole rack
RAD Sportz Floor-to-Ceiling Bike Rack
Floor-to-ceiling pole for two bikes, no holes drilled.
From $74.95Price range: $74.95 through $96.99
The catch with a tension rack is the ceiling surface it pushes against. A solid drywall ceiling on joists gives it something to press into. A suspended ceiling with lay-in tiles does not, and neither does a ceiling you suspect is sagging. Before you buy, press on the spot with your palm. If it gives, a tension rack is the wrong choice.
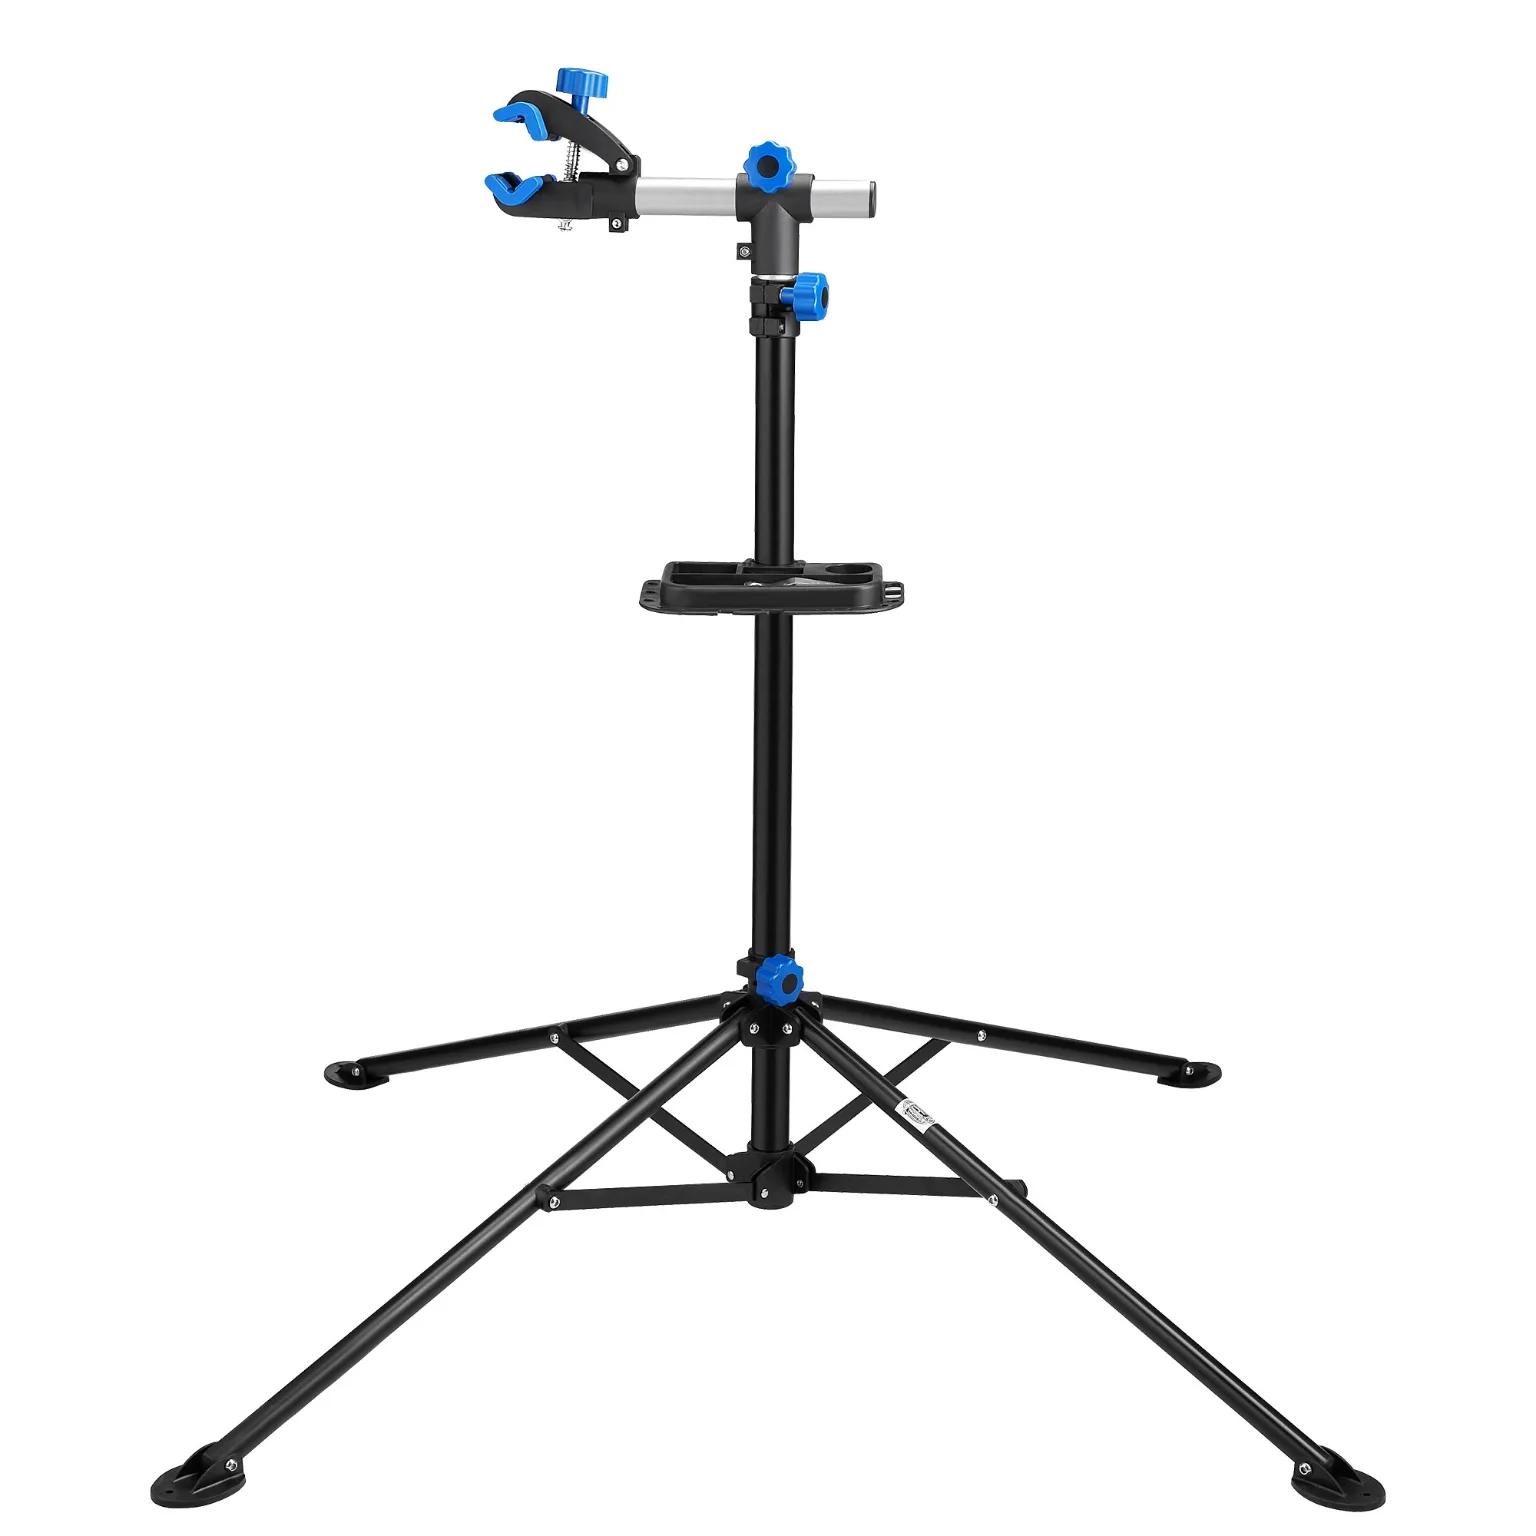
The Flip-Up Bike Wall Hook holds one bike up to 50 lb from a single wall stud. The arm folds flat against the wall when the bike is out, so it does not catch your shoulder as you walk past the car. EVA foam on the hooks keeps the frame from sliding and scuffing. Because the bike hangs at working height, it can also hold the bike while you adjust a derailleur, though a dedicated bike repair stand clamps the frame and turns it.
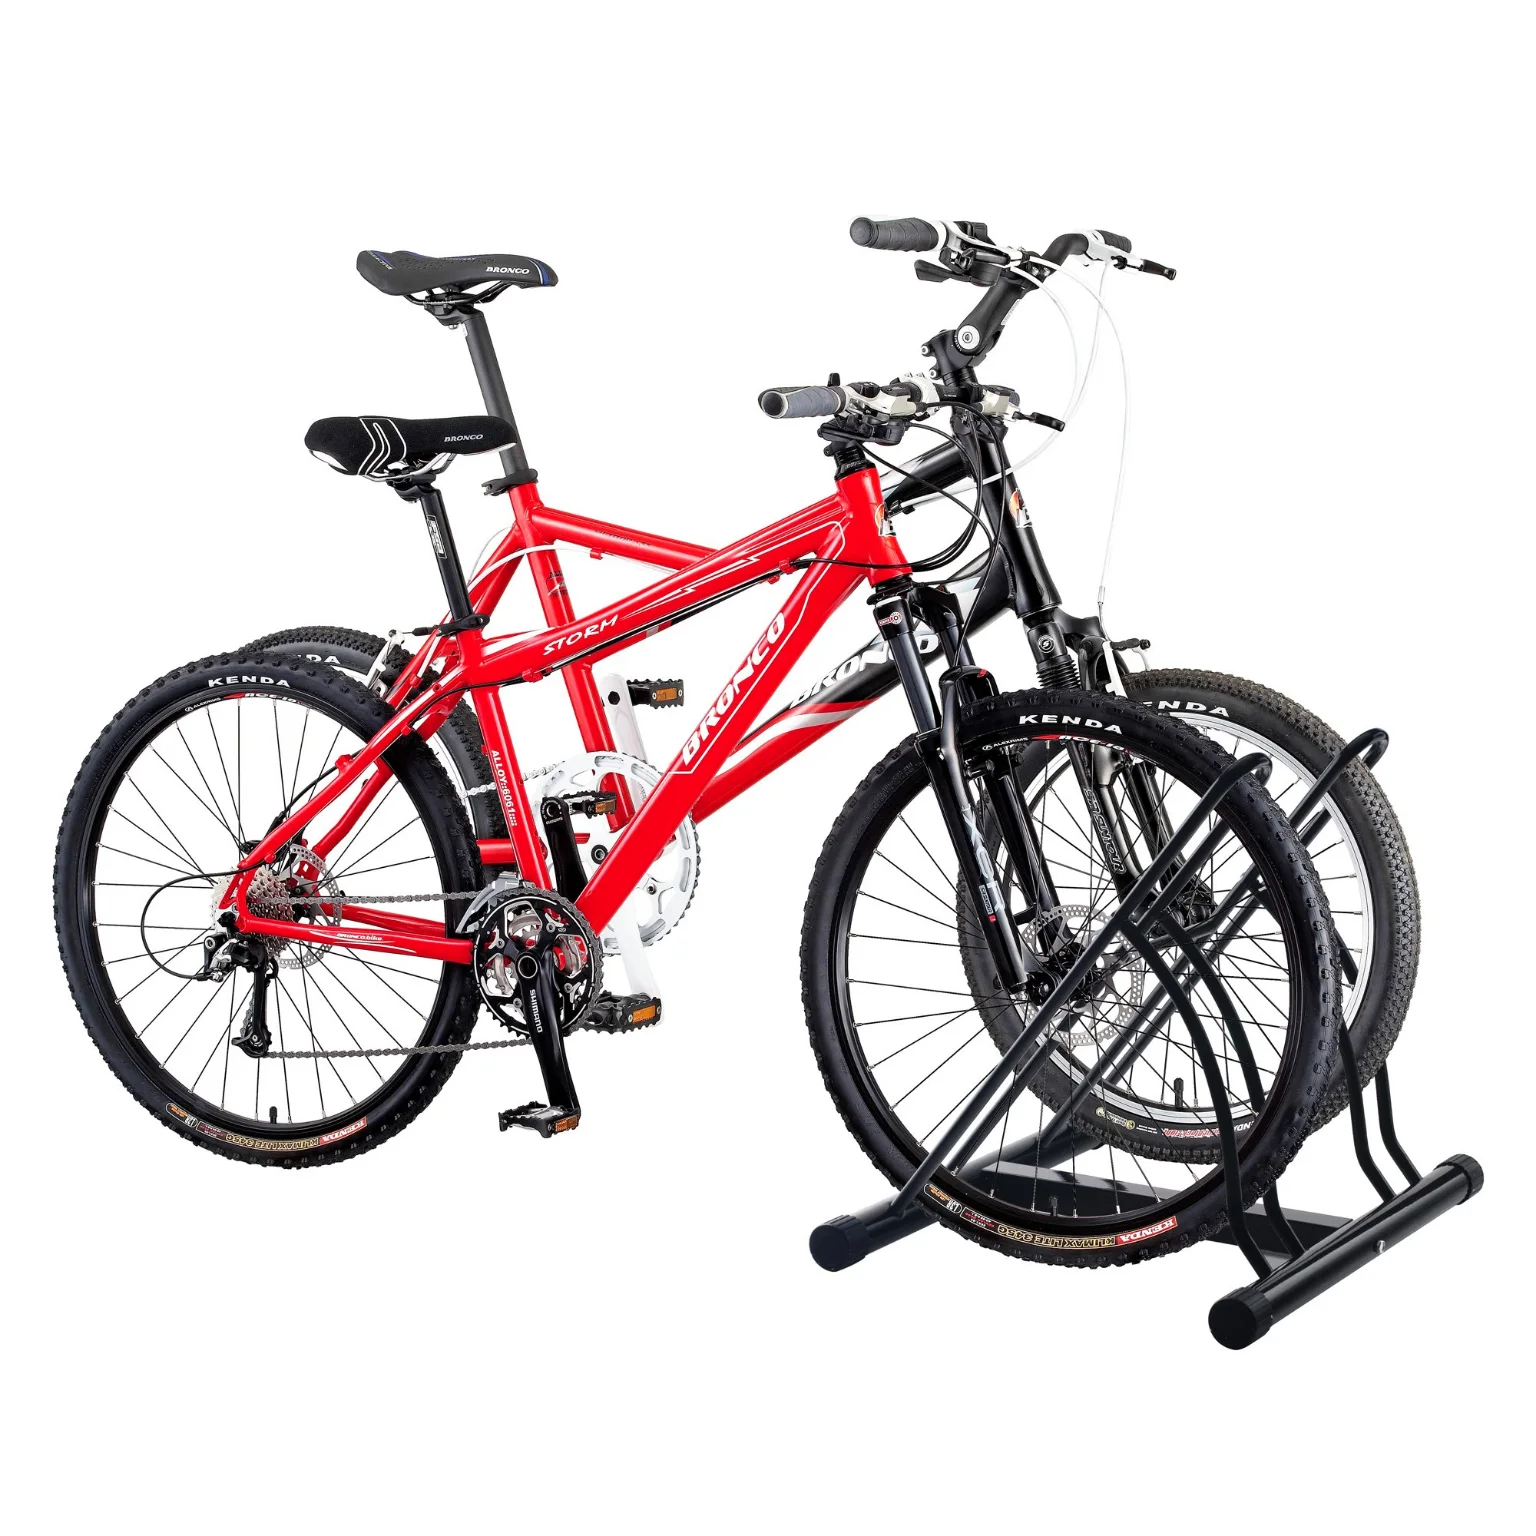
Floor stands need nothing from the building. The Two-Bike Floor Stand parks two bikes with tires up to 2.4 inches wide, side by side or nose to tail. The Folding Bike Floor Stand takes 20 to 29 inch wheels with tires up to 2.4 inches, or 650c and 700c road wheels with 20 mm tires, and folds to 3.5 inches high. Side brackets let you connect several in a row. The Single Bike Floor Stand is sized for 20 inch BMX wheels up to 3.5 inches wide and weighs 2.5 lb, light enough to toss in the car for a race.
The Gravity Bike Stand sits in between. It is a frame that holds two bikes up to 125 lb and measures 79 by 26 by 19 inches. It has to be secured to a wall stud with the included 4 inch anchor screw, so it suits a garage with a free stretch of wall and no wish to drill the ceiling.
Finding the joists and deciding on a 2x4 board
A hoist is only as good as what it screws into. Drywall alone holds nothing, so every screw has to land in solid framing. The American Wood Council's span tables size ceiling joists at 12, 16, 19.2 and 24 inches on center, and they call 16 inches on center a typical condition of use. Your garage could be any of those, so measure rather than assume.
Finding the joists takes three passes. Start with an electronic stud finder and mark both edges of each joist in pencil. Next, look for drywall screw heads or taped seams: screws run in lines along the framing. Last, confirm each mark with a small finish nail. Solid wood resists the nail, and hollow drywall lets it slide through. If you have attic access, a look from above shows the joists, the way they run and what is stacked on them.
Direction matters for the board decision. The Wood Council's commentary notes that ceiling joists are installed parallel with the rafters to tie the exterior walls together. Which way that is in your garage, the attic or the lines of drywall screws will tell you, and your bike will hang across them, along them, or at whatever angle the car dictates.
Load is the one question we will not answer with a number. The Wood Council tables cover two ceiling joist cases. One is a drywall ceiling with no attic storage, sized for a 10 psf live load. The other is a drywall ceiling with limited attic storage, sized for 20 psf. Those are loads spread over each square foot of ceiling. Neither table gives a figure for a single bracket carrying a bike, and no rating on our hoists replaces a look at your own framing. If the attic above is packed with boxes, the drywall shows cracks along the joists, or a joist has been notched for wiring, ask a builder to look before anything hangs from it.
The 2x4 board route exists for the common case where the joists do not fall where your hooks need to be. The product description of the Bike Hoist mentions it plainly: mount the hoist on a 2x4, then screw the 2x4 to the joist, or mount the hoist straight to the joist itself. Run the board across at least two joists, perpendicular to them, with screws into each joist the board crosses. Then the two pulley brackets go onto the board wherever your bike needs them. The board also gives you a straight line to sight down, which keeps the two brackets in line with each other.
A rail lift skips the board because the rail itself spans the joists. The hoist set takes either orientation. With the Bike Hoist, choose the board when the bike's hook spacing falls between joists, and the direct mount when two joists happen to line up with it.
Spacing the hooks and planning the drop
Two numbers decide where the brackets go: the distance between the hook points on your bike, and the vertical room between the ceiling and whatever sits below. Measure both before you drill anything.
Hook spacing first. Each pulley bracket should sit directly above the point its hook will catch. On a bike hung upside down by its wheels, that distance is the wheelbase, from the center of the front axle to the center of the rear axle. Lay the bike on the floor, measure axle to axle, and transfer that number to the ceiling as two marks on the same line. Brackets set wider or narrower than the bike pull the rope at an angle, and an angled pull makes the bike swing as it rises. If a household shares one hoist between a mountain bike and a road bike, measure both and split the difference, or hang a second hoist sized to the second bike.
Next, the line itself. Point the bike the same way the car parks, so it hangs over the hood or over the space between the car and the side wall rather than across the windshield. The garage door matters too. Open the door fully and look at where the panels and the track stop, because a bike hung in the path of an opening door will be struck by it.
Now the drop. The rope on our hoists is sized for ceilings up to 12 ft, which is 144 inches. The hoist's 9 inch height takes the first slice of that. Below the bracket hangs the hook, then the bike. Hung upside down, the lowest points of the bike are the saddle and the handlebars, not the wheels. Measure your bike from the top of the tire to the bottom of the bars, add the bracket and a few inches for the hook, and subtract the total from your ceiling height. What is left is the space above the car.
Then measure the car. Take its roof height, add a margin for a roof rack or a box if you carry one, and compare. A ceiling at 8 ft leaves far less room than one at 10 or 12 ft, and bars that clear the roof can still meet an open hatch. Open the tailgate or the trunk lid fully and check again.
Handlebars deserve their own look. Wide mountain bars hang lower at the ends than at the stem, and drop bars curl down below the hoods. If the bars are what come closest to the car, hang the bike so the bars sit over the space beside the car, and the saddle over the hood.
Working overhead without falling off the ladder
Most of the risk in a hoist install is not the hoist. It is the ladder, the arms raised over your head and the drill in one hand. Two sources set out the rules plainly.
A hazard alert on portable ladder safety from the Center to Protect Workers' Rights, produced with NIOSH support, notes that twice as many falls happen stepping down as going up. It names tipping sideways as the main cause of falls from stepladders. Its rules for a stepladder are specific. All four legs go on solid, level ground with the spreaders locked fully open. A stepladder is never leaned against a wall. No one works from the top or the top step. For climbing, the alert says to face the ladder, keep three points of contact, such as one hand and two feet, and keep your body centered between the side rails.
OSHA's construction rule for ladders, 29 CFR 1926.1053, covers the same ground in regulatory language. The top or top step of a stepladder is not to be used as a step. The user faces the ladder when going up or down and keeps at least one hand on it. Nobody carries an object or load that could cause a loss of balance. A ladder is not loaded beyond its maximum intended load or the maker's rated capacity, and it stands only on stable, level surfaces unless secured.
Those rules shape the install in practical ways. Carrying a hoist bracket and a drill up the ladder in your hands breaks two of them at once. The CPWR alert suggests attaching objects to a tool belt or pulling them up on a line once you are in place. A helper on the floor who hands parts up removes the problem entirely.
The garage itself adds two hazards. The first is traffic. OSHA's rule says a ladder standing in a passageway, doorway or driveway must be secured or the area blocked off. It also says the area around the top and bottom of the ladder stays clear. In a garage that means the car out, the door closed, and the kids told where you are. The second is reach. Ceiling work tempts you to lean out to the next joist instead of climbing down to move the ladder, and leaning takes your body off center between the rails. Move the ladder.
Check the sticker on your ladder before you start. The CPWR alert explains that the label states the ladder's maximum weight capacity, and that capacity has to cover you, the drill and the hardware together. Inspect the feet, rungs and spreaders before you climb, as the same alert recommends, and set aside any ladder with cracked or bent parts.
Installing the hoist, step by step
Lay everything on the floor first. The Bike Hoist box holds the two pulley brackets, the rope, the two hooks and the mounting hardware. Read the instruction sheet that comes with it through once before you climb, because the rope threading is easier to understand on the floor than overhead.
- Park the car in its usual spot, mark where the bike should hang on the floor with tape, then move the car out.
- Find and mark the joists over that spot, confirming each with a finish nail.
- Decide between the direct mount and the 2x4 board, based on whether two joists line up with your bike's hook spacing.
- If you use a board, screw it across the joists first, with screws into every joist it crosses.
- Mark the two bracket positions on the same straight line, spaced to your bike's measurement.
- Drill pilot holes, then fasten each bracket with the supplied hardware, checking that each one sits tight against the wood.
- Thread the rope through the pulleys in the order the instruction sheet shows, and leave the tail hanging toward the wall where you will tie it off.
- Fasten the cleat to a wall stud at a height you can reach standing on the floor.
- Attach the hooks and test the empty hooks up and down several times before any bike goes on.
Rope routing deserves a moment of thought before step 7. The tail of the rope has to travel from the second pulley to the wall without crossing the garage door track, a light fixture or the opener rail. Run it along the joists if you can, and choose a wall that faces the side of the car rather than the hood, so you are not reaching across the car to work the rope.
The cleat is where the hoist actually rests overnight. The rope lock holds the rope as you pull, but once the bike is up, the tail gets wrapped around the cleat and finished with a turn that locks it. Our kayak hoist ships with a cleat for the wall or ceiling for exactly this job. Put the cleat into a stud, not into bare drywall, and at a height where a child cannot reach it to unwind it.
For the Rail-Mount Lift, steps 3 to 6 collapse into one. Hold the rail across the joists, drive the screws into each joist it crosses, and the lifting points are already spaced. For the hoist set, mount the kayak pulley and the bike hoist on separate runs, so each load hangs from its own framing.
Lifting, locking and checking the clearance
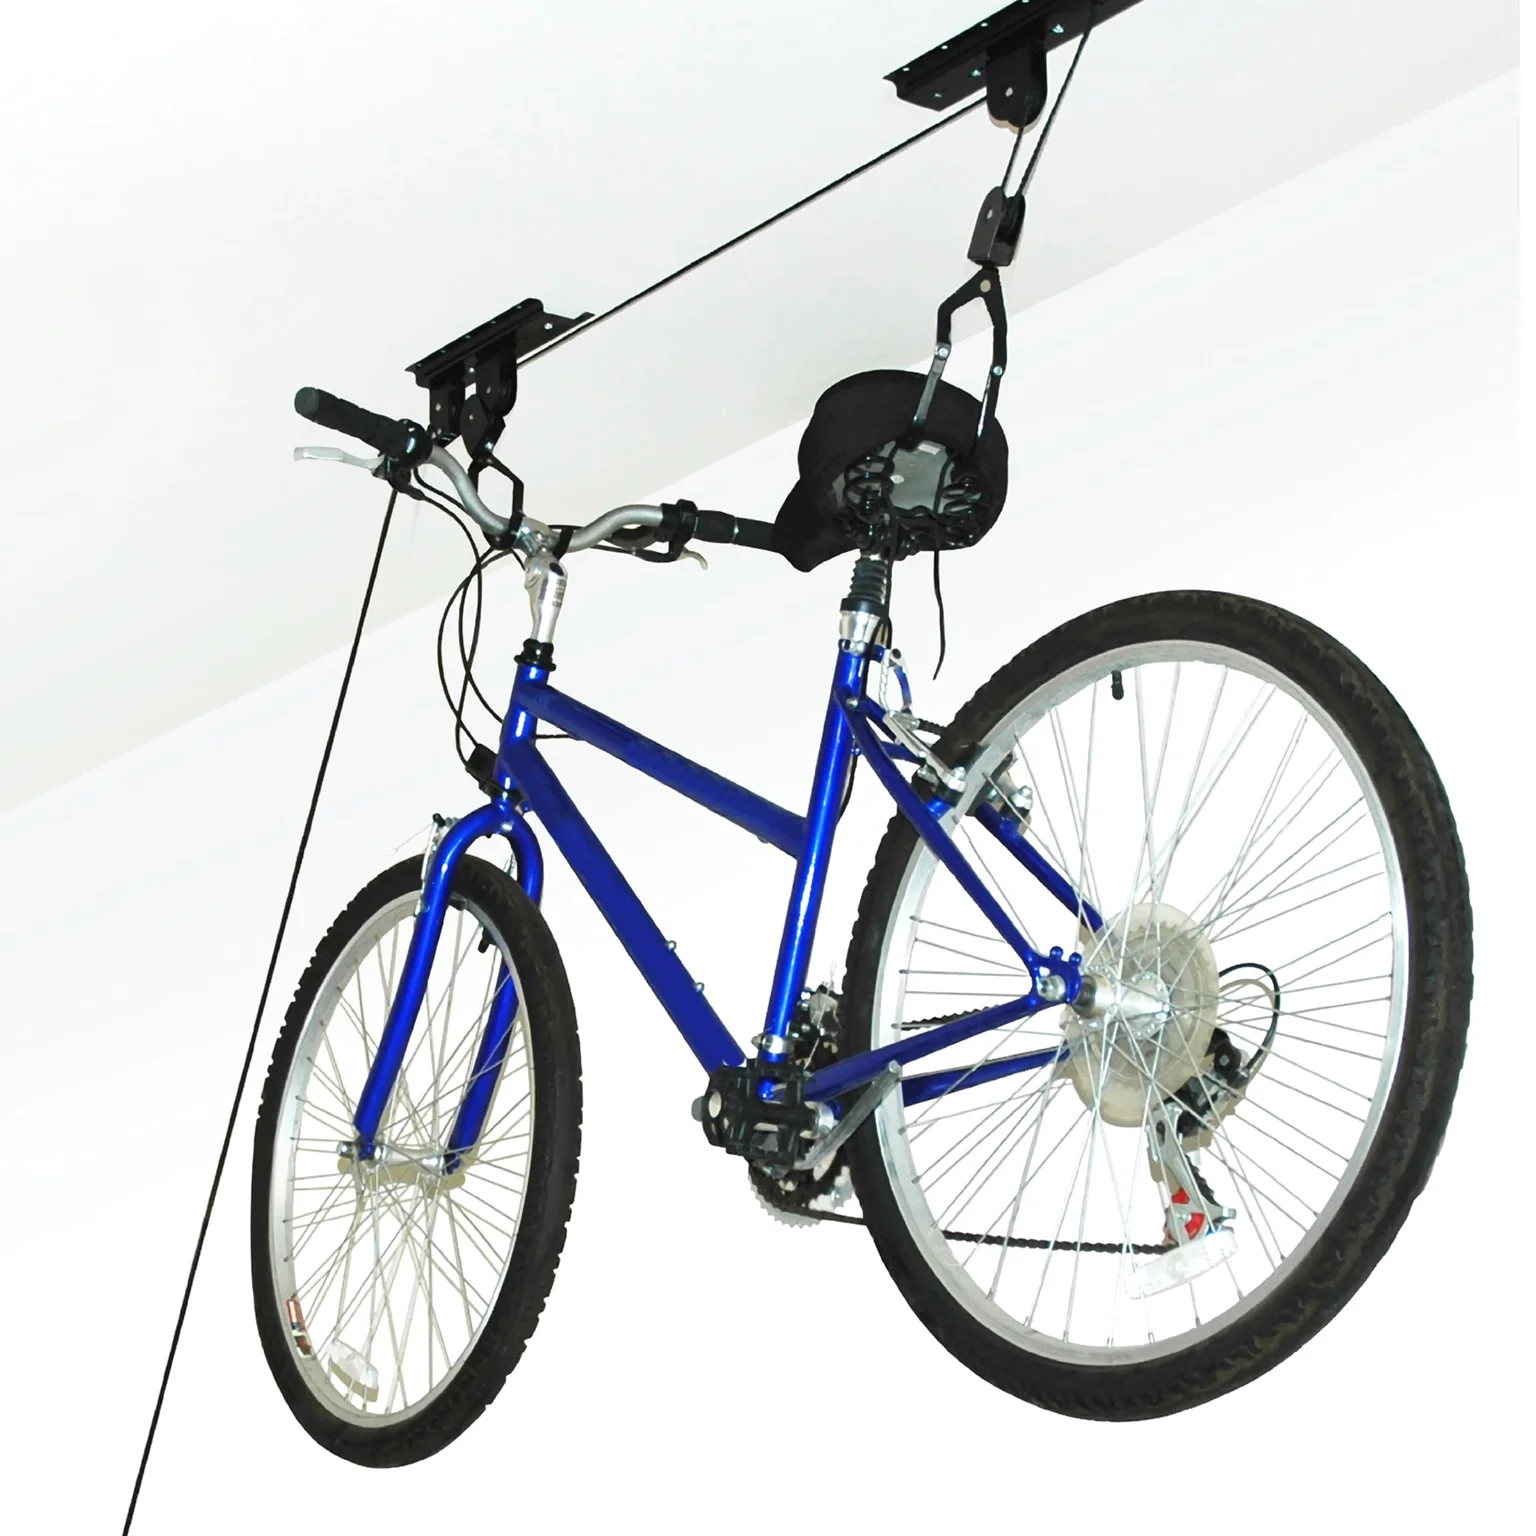
The first lift tells you whether the install is right. Hook the bike at the two points you measured, stand at the cleat end, and pull steadily. Both hooks should rise at the same rate and the bike should stay level. A bike that rises nose first means the brackets are farther apart or closer together than the hook points. Lower it and adjust the hook positions on the bike before you live with a tilt.
As you pull, the lock on the pulley catches the rope. Raise the bike until its lowest point clears the roof of the car with the margin you planned, then wrap the tail around the cleat. Leave the extra rope coiled and hung on the cleat, not lying on the floor where a tire can catch it.
Lowering reverses the order. Take the tail off the cleat while keeping tension on it, release the lock the way the instruction sheet shows, and feed the rope out hand over hand. The bike comes down at the speed you let it. Two hands on the rope make that easy, and one hand makes it hard.
Before the car goes back in, run the full check. Lift the bike, park the car, open every door, the hatch and the trunk, and look at the gap. Then open the garage door and watch it travel. If anything meets the bike, lower it and adjust now rather than after a scratched roof.
| Check | When | What you are looking for |
|---|---|---|
| Joist marks confirmed with a nail | Before drilling | Solid wood behind every screw |
| Brackets on one straight line | After mounting | Spacing matches the bike's hook points |
| Rope path | Before threading | No contact with the door track, opener or lights |
| Cleat in a stud | Before the first lift | Tail can be wrapped and locked at reach height |
| Empty test lift | Before loading | Hooks rise evenly, lock catches |
| Car and door clearance | After the first lift | Roof, hatch and door all clear the bike |
A few habits keep the setup working. Look at the rope each time you lower the bike, and replace it if it frays where it runs over the pulleys. Feel the brackets now and then for any play in the screws. If more than one bike is going up, a row of hoists spaced across the same board keeps them in a tidy line.
Once the bikes are up, the floor under them is free, and that is usually where the next problem starts: the ladder you just used, the pump and the helmets. The garage wall hooks take ladders and bulky gear at 100 lb per pair, and the rest of the garage organizers shelf covers the smaller things.
Everything named in this guide is part of the RAD Sportz collection, and our Bike Storage & Repair shelf has every option with its price.